


Introduction
Repairing cracked plastic bumper: Plastic repair with reinforced putty offers a practical restoration method widely adopted in China. By combining a metal mesh reinforcement with a cement-enhanced putty, damaged plastics are strengthened and reshaped. Ultimately, hidden repairs are achieved, while a smooth, factory-like finish is created through careful finishing and painting.
Plastic repair with reinforced putty: a practical restoration method
In today’s guide, we explore plastic repair with reinforced putty, a practical restoration method widely used in China for durable, hidden repairs. The method combines a metal mesh reinforcement with a specialised putty that hardens to restore strength and shape, making damaged plastic look almost factory-new. By detailing each phase, readers understand how this method yields robust results while minimising visible flaws. This approach relies on three core components: reinforcement, bonding, and curing, ensuring a seamless finish that lasts under typical use.
Repairing a cracked plastic bumper: Why reinforced plastic repair matters
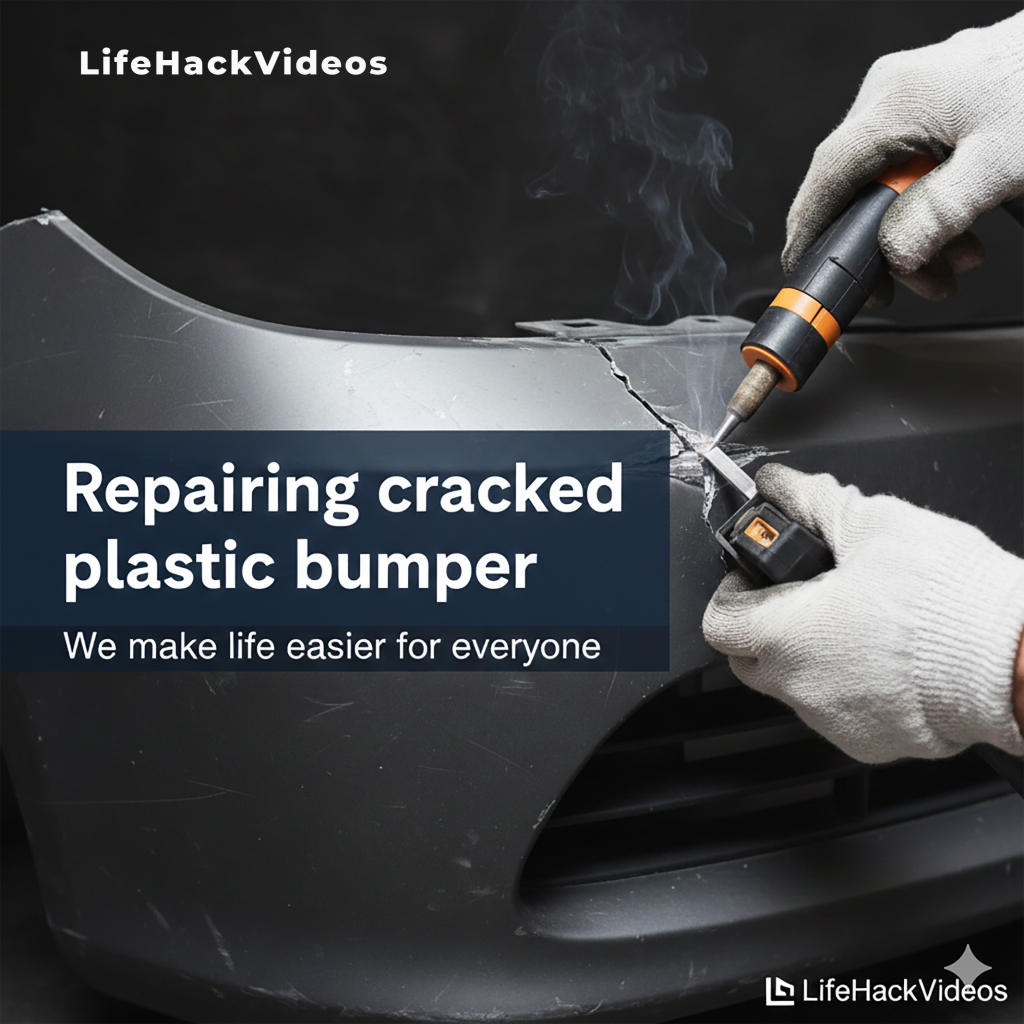
When dealing with high-stress plastic parts prone to cracking, reinforced plastic repair becomes essential. The metal mesh acts as a reinforcement layer, preventing further fractures and distributing stress more evenly across the repaired area. Sealing tiny cracks with a soldering iron eliminates weak spots and edge damage, reducing the likelihood of re-cracking during future use. Although some readers might question this step, it provides a solid foundation for the subsequent layers of repair and remains a common practice in industrial plastic restoration projects. This approach gives the bumper or other plastic components renewed structural integrity while maintaining a smooth surface after finishing.
Repairing a cracked plastic bumper: The step-by-step process of plastic restoration
Begin the step-by-step process with surface preparation and reinforcement. Cut a piece of metal mesh to the required size, then anchor it into the damaged zone. The mesh becomes reinforcement, preventing the plastic from cracking again. To avoid tip damage during soldering, use a regular nail in place of a dedicated soldering iron tip. Next, solder the mesh directly into the plastic, creating a strong internal frame that supports the subsequent putty layer. This foundation is crucial for achieving a durable repair that withstands everyday wear.
Repairing cracked plastic bumper: Creating the reinforced putty for plastic
Creating the reinforced putty for plastic marks the most distinctive stage. Pour acetone into a glass container to dissolve the foam and form a thick, glue-like mass. This solvent-based approach yields a material that adheres exceptionally well to plastic. Add foam pieces, which dissolve into a viscous mixture that bonds to both plastic and metal mesh. To enhance hardness and durability, add a small amount of cement. The cement strengthens the mixture, helping it hold its shape as it cures. The result is a unique putty for plastic that combines adhesion, reinforcement, and rigidity in a single compound.
Finishing, painting, and achieving a factory-like appearance
Finish with finishing touches to achieve a factory-like appearance. Apply the reinforced putty over the damaged area, then shape it to fill voids and create a seamless contour. Once the material cures, sand the surface until it is perfectly smooth. Protect edges with masking tape to ensure clean lines, then proceed to painting. Apply a thin, even layer of paint to lay down smoothly, producing a surface indistinguishable from the surrounding plastic. With careful masking and colour matching, the repaired bumper or panel becomes virtually indistinguishable from the original factory finish.
Repairing a cracked plastic bumper: Safety note and practical precautions
Safety note: Before attempting this or any solvent-based repair, work in a well-ventilated area and wear appropriate safety gear, such as gloves and goggles. Acetone is highly flammable and can irritate the skin and eyes; keep it away from heat sources and flames. If possible, use safer alternatives or consult manufacturer guidelines for plastic-specific repair products. Additionally, handle heating tools like soldering irons with caution to avoid burns and accidental ignition. Readers should follow local regulations and, where available, seek professional guidance for high-stress parts or critical components.
Repairing cracked plastic bumper: The final results and next steps
The final results of plastic repair with reinforced putty are impressive: the repaired plastic holds securely and looks great. The combination of reinforcement, a cement-enhanced putty, and careful finishing yields a durable repair that often goes unnoticed. If you found the idea helpful, consider supporting it by liking or sharing your own experiences with similar techniques in the comments.

)
Comments